(long post ahead)
I sew in a very small space.
To be frank with you, We live in a very small space. My husband and I bought this house with the intention of living a much simpler lifestyle. It was to be lived in by us during our retirement years. A place that would be easy to maintain, easy to close up so we could travel, easy on taxes and utilities.
Our house is a mobile home that had been repossessed or traded in. It was very used and we got it for a great price. We put it on our lot and started remodeling. There is all of 968 square feet for us and all of our stuff. There were three bedrooms, two bathrooms, and an eat in kitchen with a utility area. This would probably have been enough for just the hubs and me. We planned to take one bedroom for my sewing room and the other for guest and extra storage.
You know what they say about the best laid planes. First on child moved home and then another. They never came back alone, they always brought more. For the last decade there has been someone living with us. We have one grandson that lives here during the school year and sometimes beyond and a granddaughter that lives here from time to time.
During all this moving in and out, we realized we needed a dinning room. There wasn’t enough room in the kitchen for a family to eat and enjoy themselves. I also needed more room in the kitchen for food storage and prep. We also found that the living area wasn’t in the right place. You had to walk through this area to get to any other room in the house. It was not conducive to good conversation or for watching TV.
To solve these problems we removed the wall between the living room and one of the bedrooms. Then we raised the ceiling to match the one in the living room. Now we have a living room at one end and a dinning room at the other.
In doing this, I no longer had a sewing room. My sewing and crafts have to share a space with the dinning room. I have been paring my supplies down. Only the best or most useful things get to stay. All the storage has to look good and function well. Everything has had to be thought out and redesigned. I am not by any means done and I am sure this processes will be on going.
I don’t have a large budget for this. Most everything has been reused, repaired, or recycled. We live on a fixed income so I have had to get creative. My whole remodeling, crafting, living theme these days has been “More Time than Money and not near enough Time”.
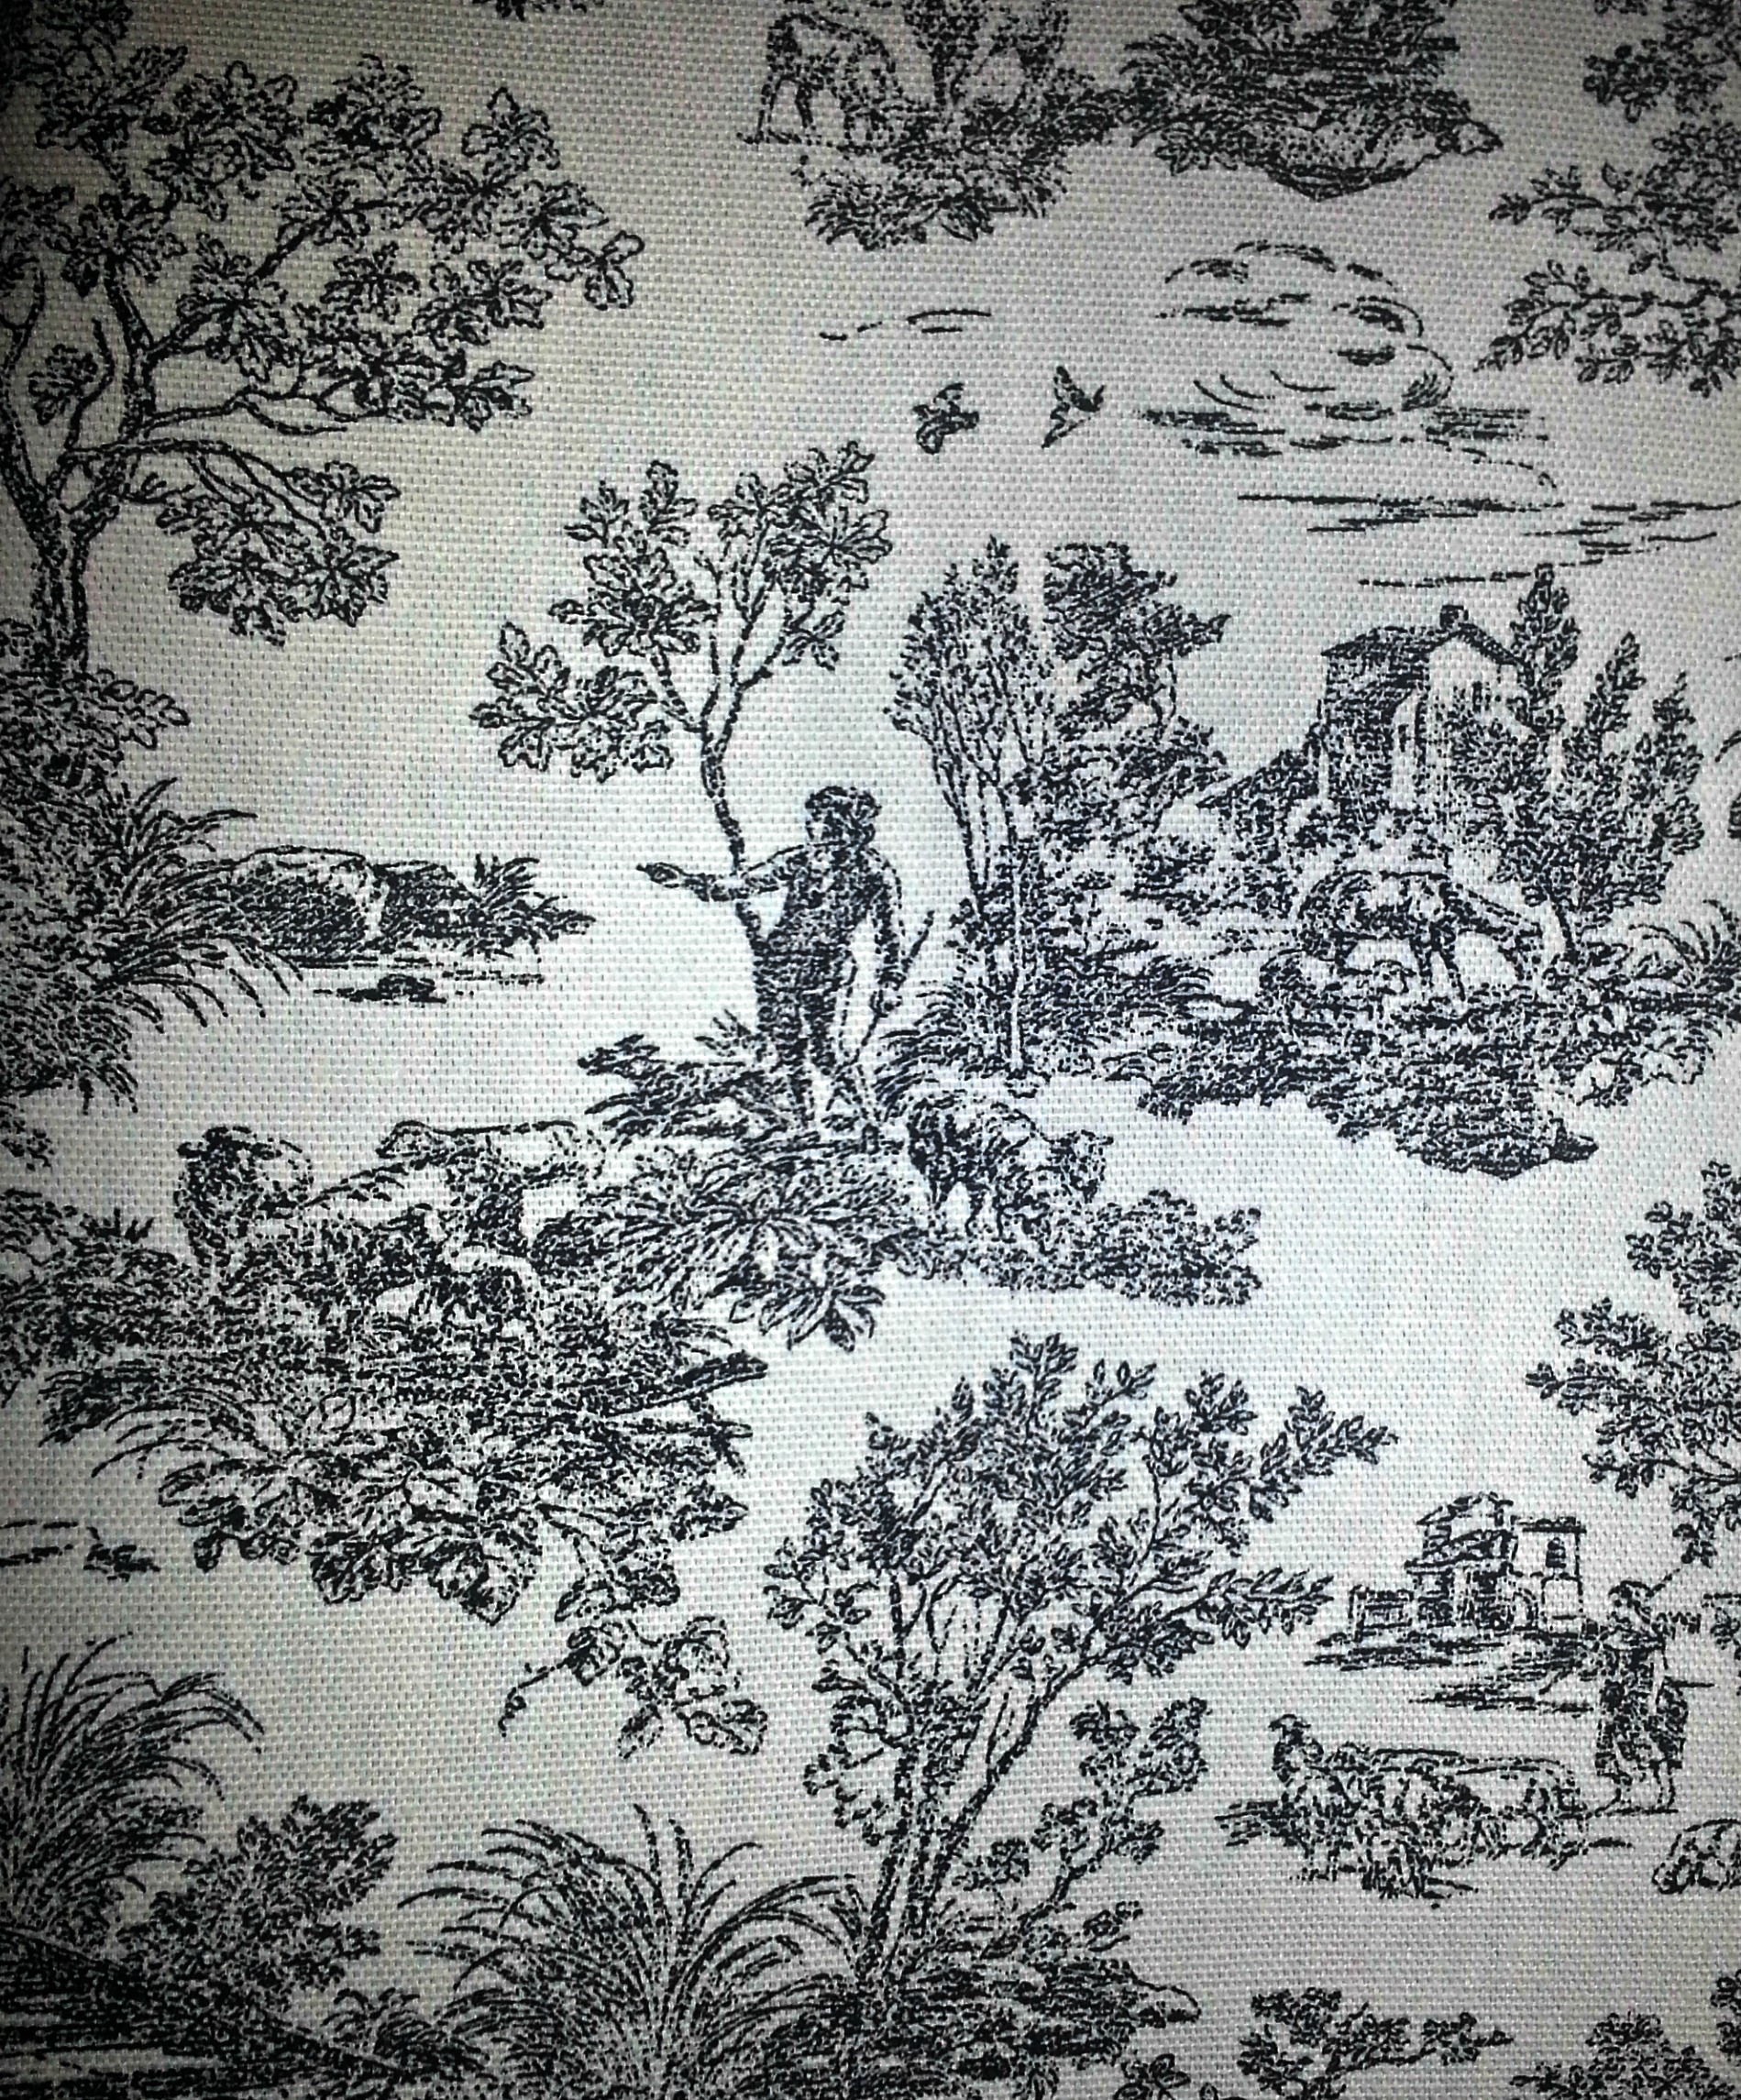
I knew I needed to use a cohesive color scheme over the whole area. I have chosen to use black and white. I also used these neutral colors in my kitchen. As with the kitchen, there are pops of blood-red. I bought some really nice canvas toile on sale from Hobby Lobby. I purchased about 6 yards at less than $5/yd. I will be using it in several projects.
First up in this endeavor, my disgusting ironing board. My ironing board stays up most of the time. It needed to look good and be functional. Remember more time than money. I will not be showing the before picture. Everyone knows what an old worn out ironing board looks like. You know you do LOL.
I found a great tutorial at Sew4home. You can find it here. I used some of the toile and a nice deed red quilting cotton. For the new pad I used an old blanket. I tested the blanket by covering it with the fabric, using my iron on its highest setting with the most steam possible, then pressing and ironing over it to made sure it wouldn’t melt.
One of my pet peeves is having the ironing board padding bunch up and shift while I am trying to press out a large piece of fabric. Also I can’t stand when the board cover pops up and gets in the way. To solve these issues I had my husband sand down the metal surface and spray paint it with “Rust-oleum”. Then I sprayed it with adhesive before I laid down the new pad. I made sure the cover was deep enough and tight enough to go well under the top so it couldn’t pop up.
It turned out great. I have been using it for a few weeks now and it is wonderful. The only thing I would do different is instead of trying to turn up the fabric, I would use bias tape to form the casing for the elastic. I think that would have been easier because of the curves.
I will be showing my remodeling progress here over the next months. Maybe some of my ideas will work for you or you give me suggestions that could work for me. Feel free to comment and share.